
This post is the second in a two-part series that covers Railway, a platform that makes deploying applications simple and easy.
In this part, we’ll add a database to our Railway deployment and flesh out our application by adding a view to our front end that displays a message pulled by the server from our database.
Add a Database
Let’s add a database to our Railway deployment.
Log in to your account at railway.com and select the project we set up last time in the dashboard.
Click the + Create button at the top right.
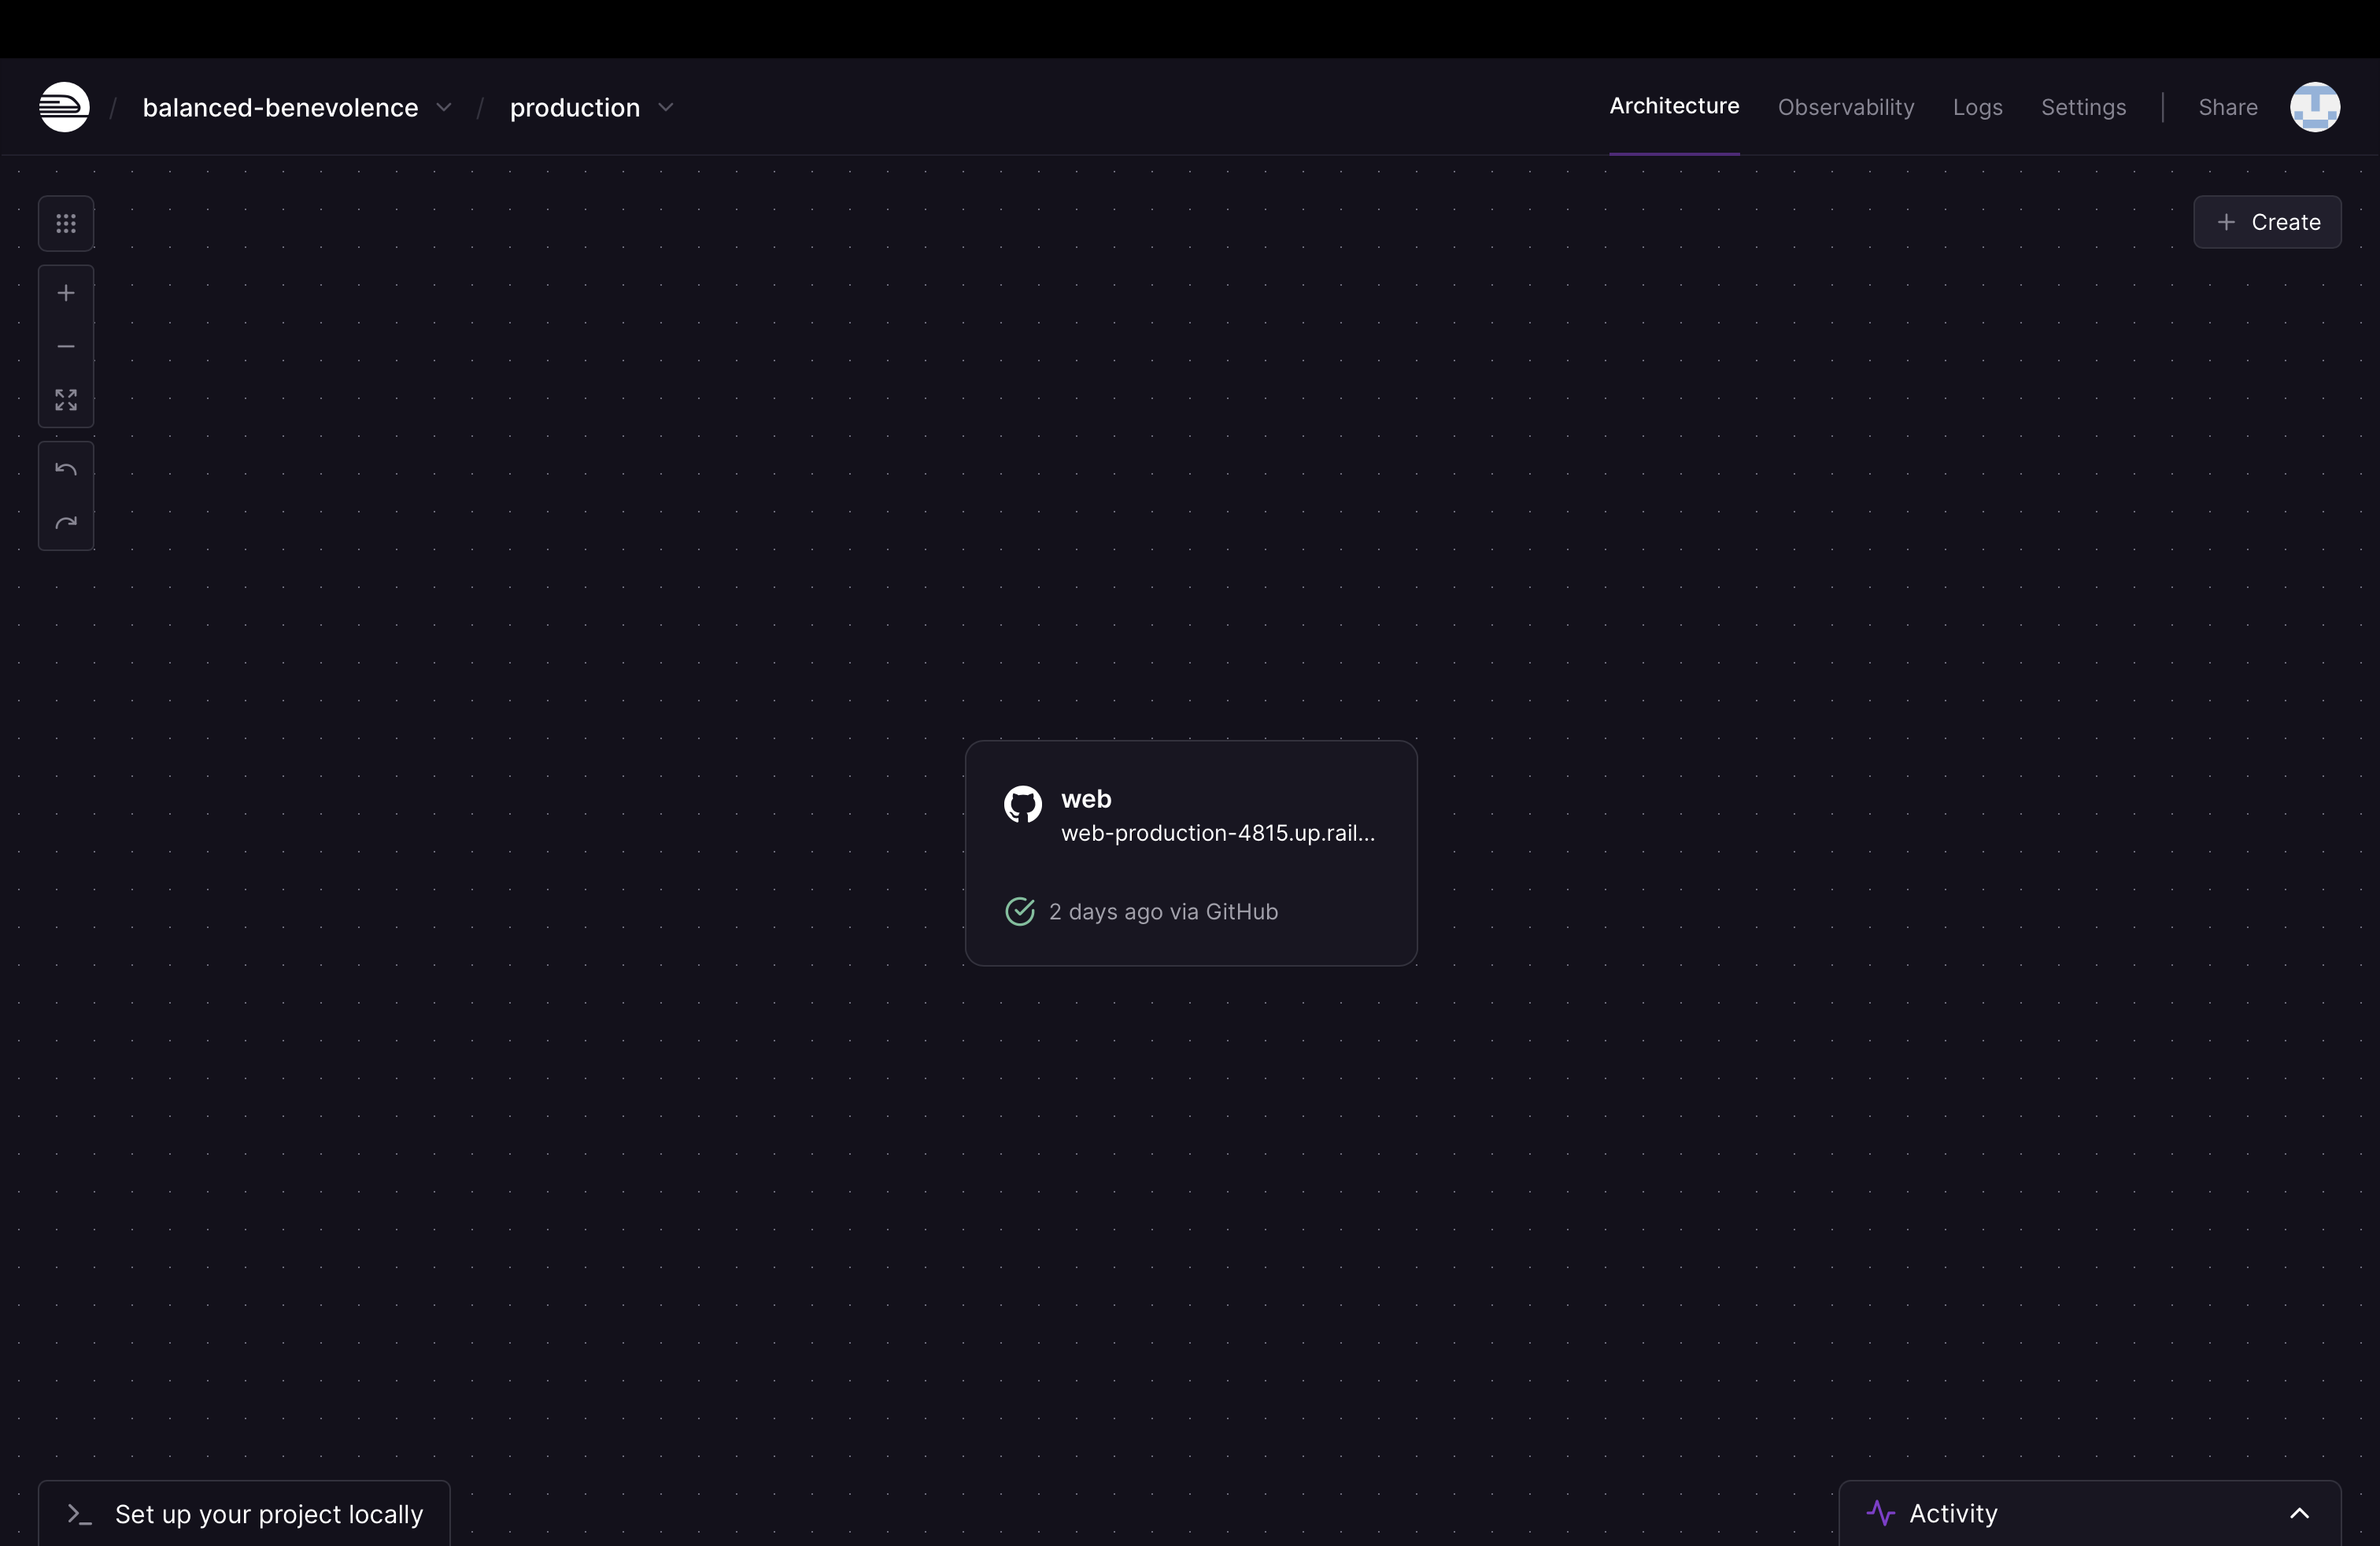
Click Database from the drop-down list.

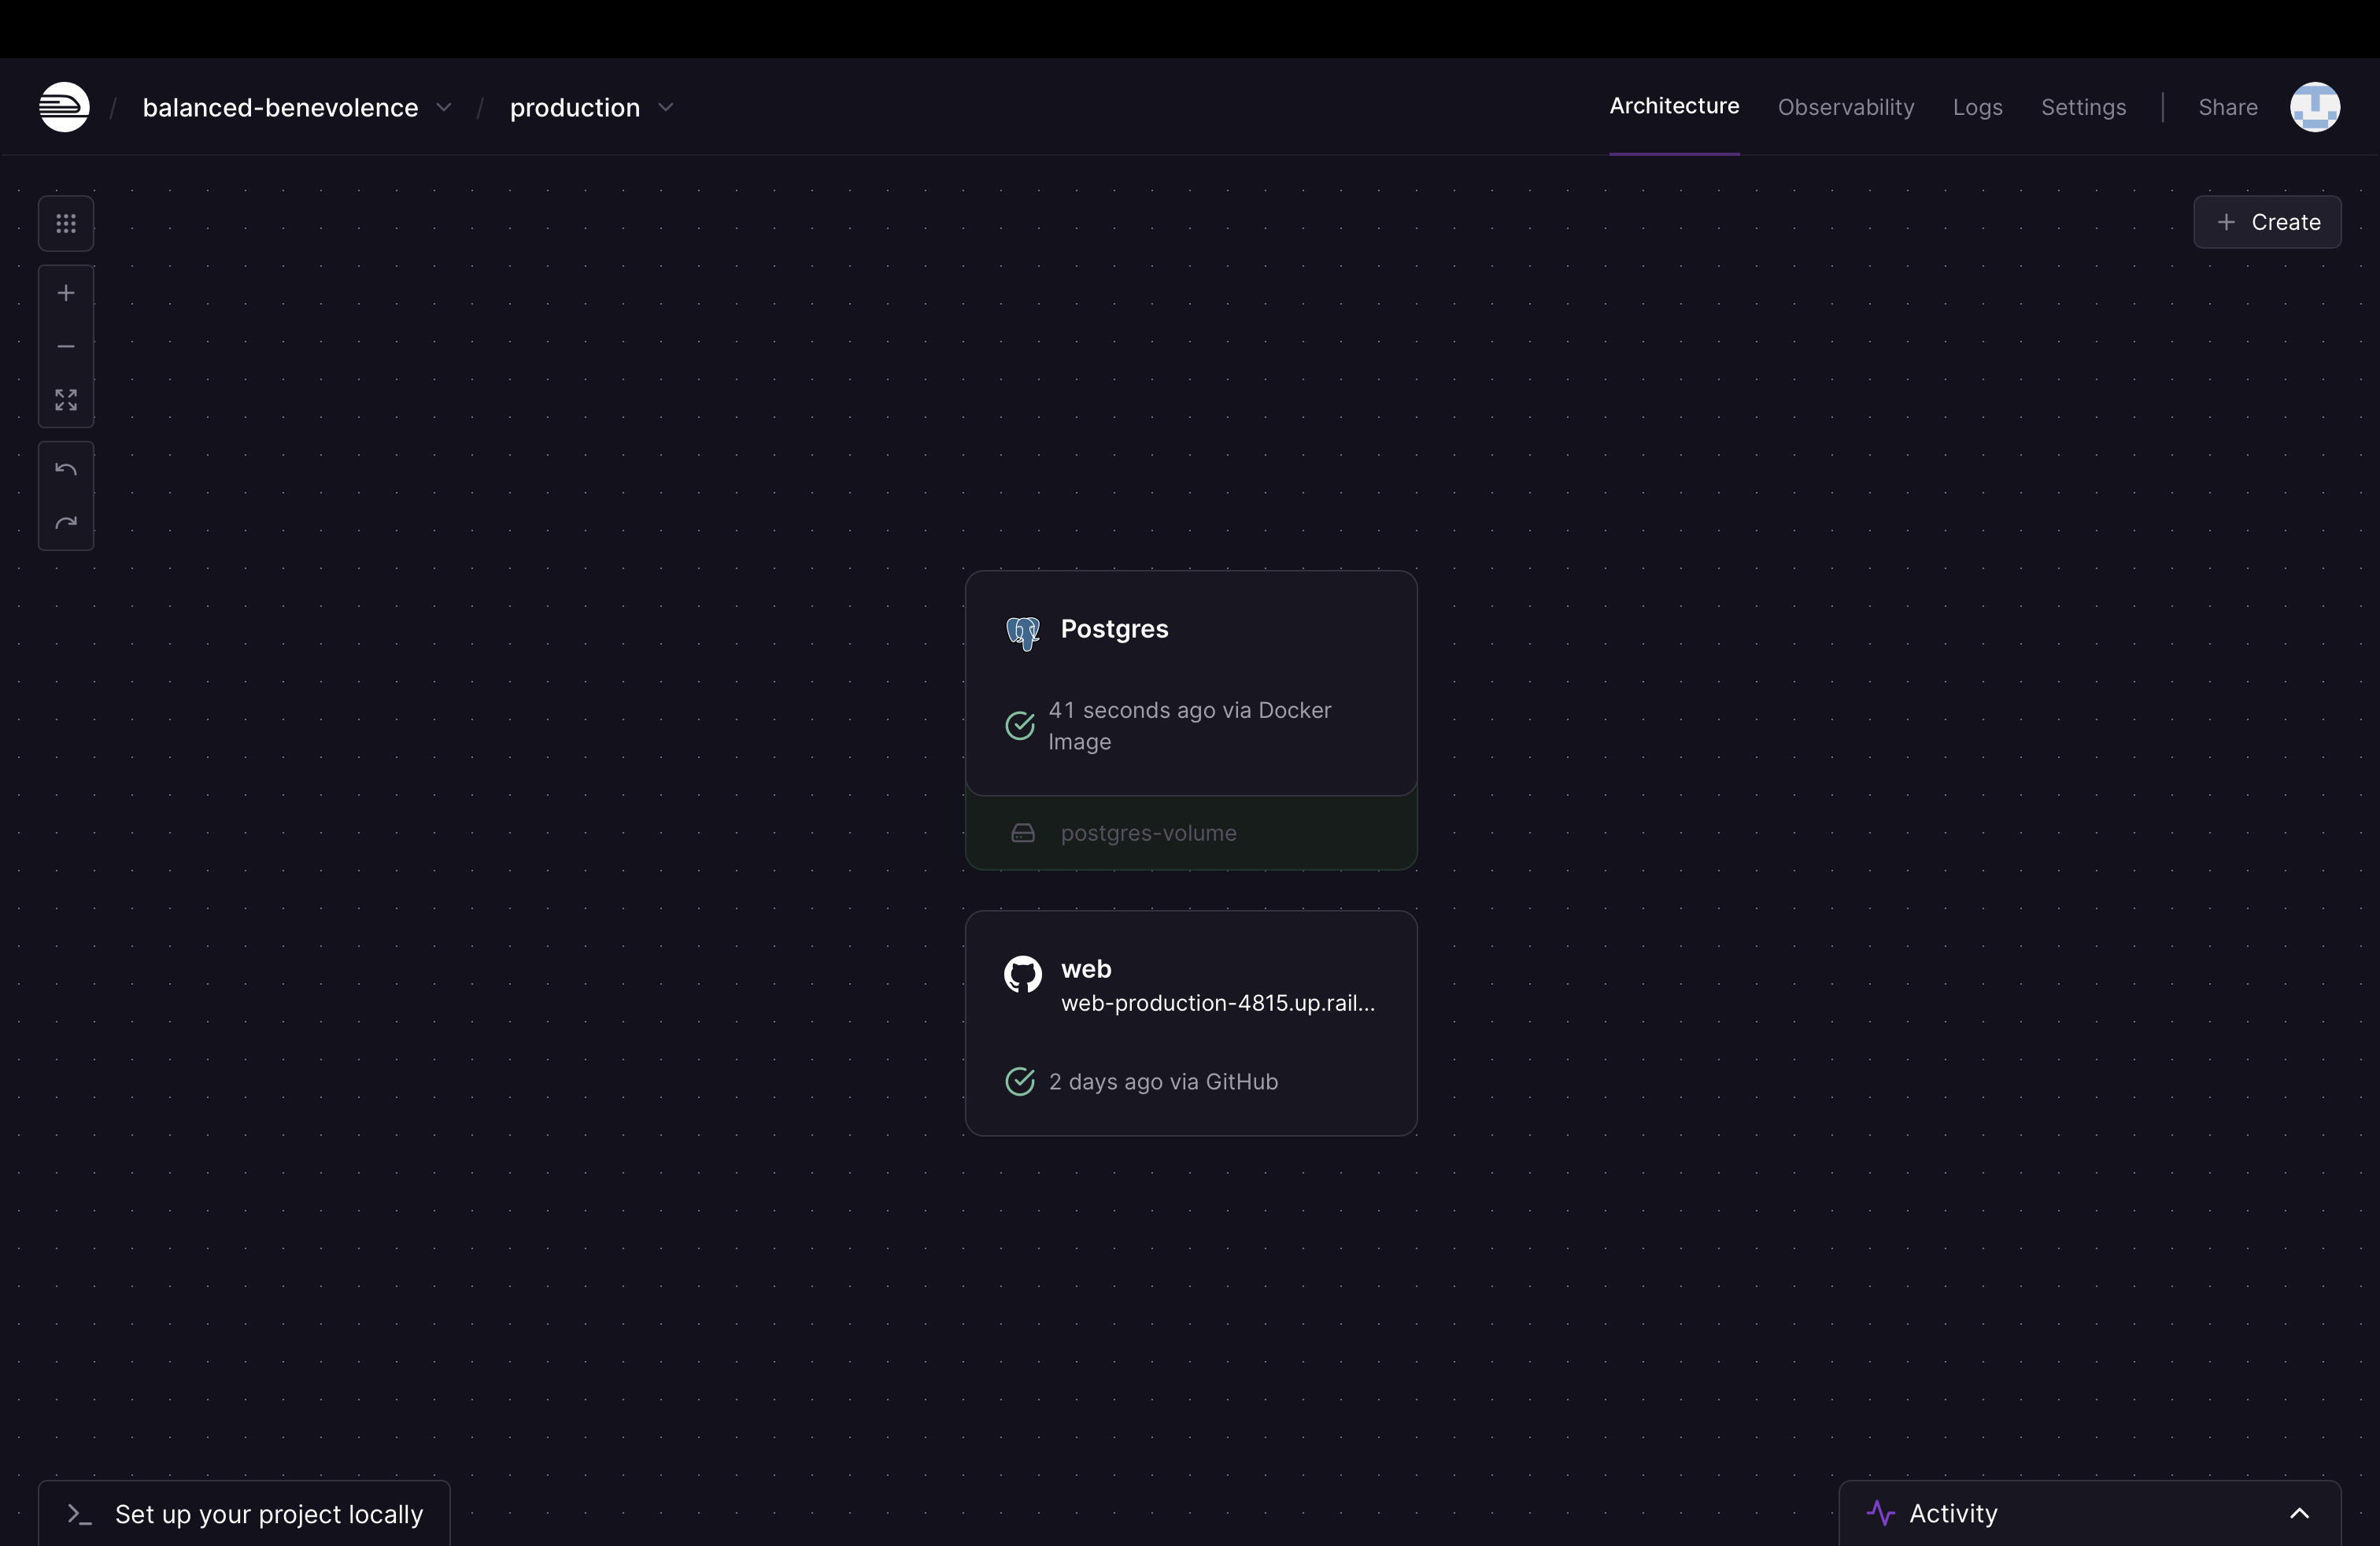
Click Add PostgreSQL.

After a moment, the Postgres server should be up and running.
Create a Table
Click the Postgres server and navigate to the Database tab.

Click the Create table button and add a new column by clicking the Add column button.
Populate the column name field in the new row with content and the type field with text. You can also set a constraint of Not NULL. Click Create.

Click the message table we just created.

Click the + Row button to add a row to our table.

Populate Hello, World! in the content column and click the Insert button.

You should see the new row we just added.

Add Environment Variables
To allow our application to connect to the database, it will need to know the database server’s hostname and port as well as the database name and credentials.
Hardcoding these into our code is bad practice and a security issue, since those credentials would be accessible by anyone with access to the repository. Instead, we’ll add them as environment variables on our web server which our code can access.
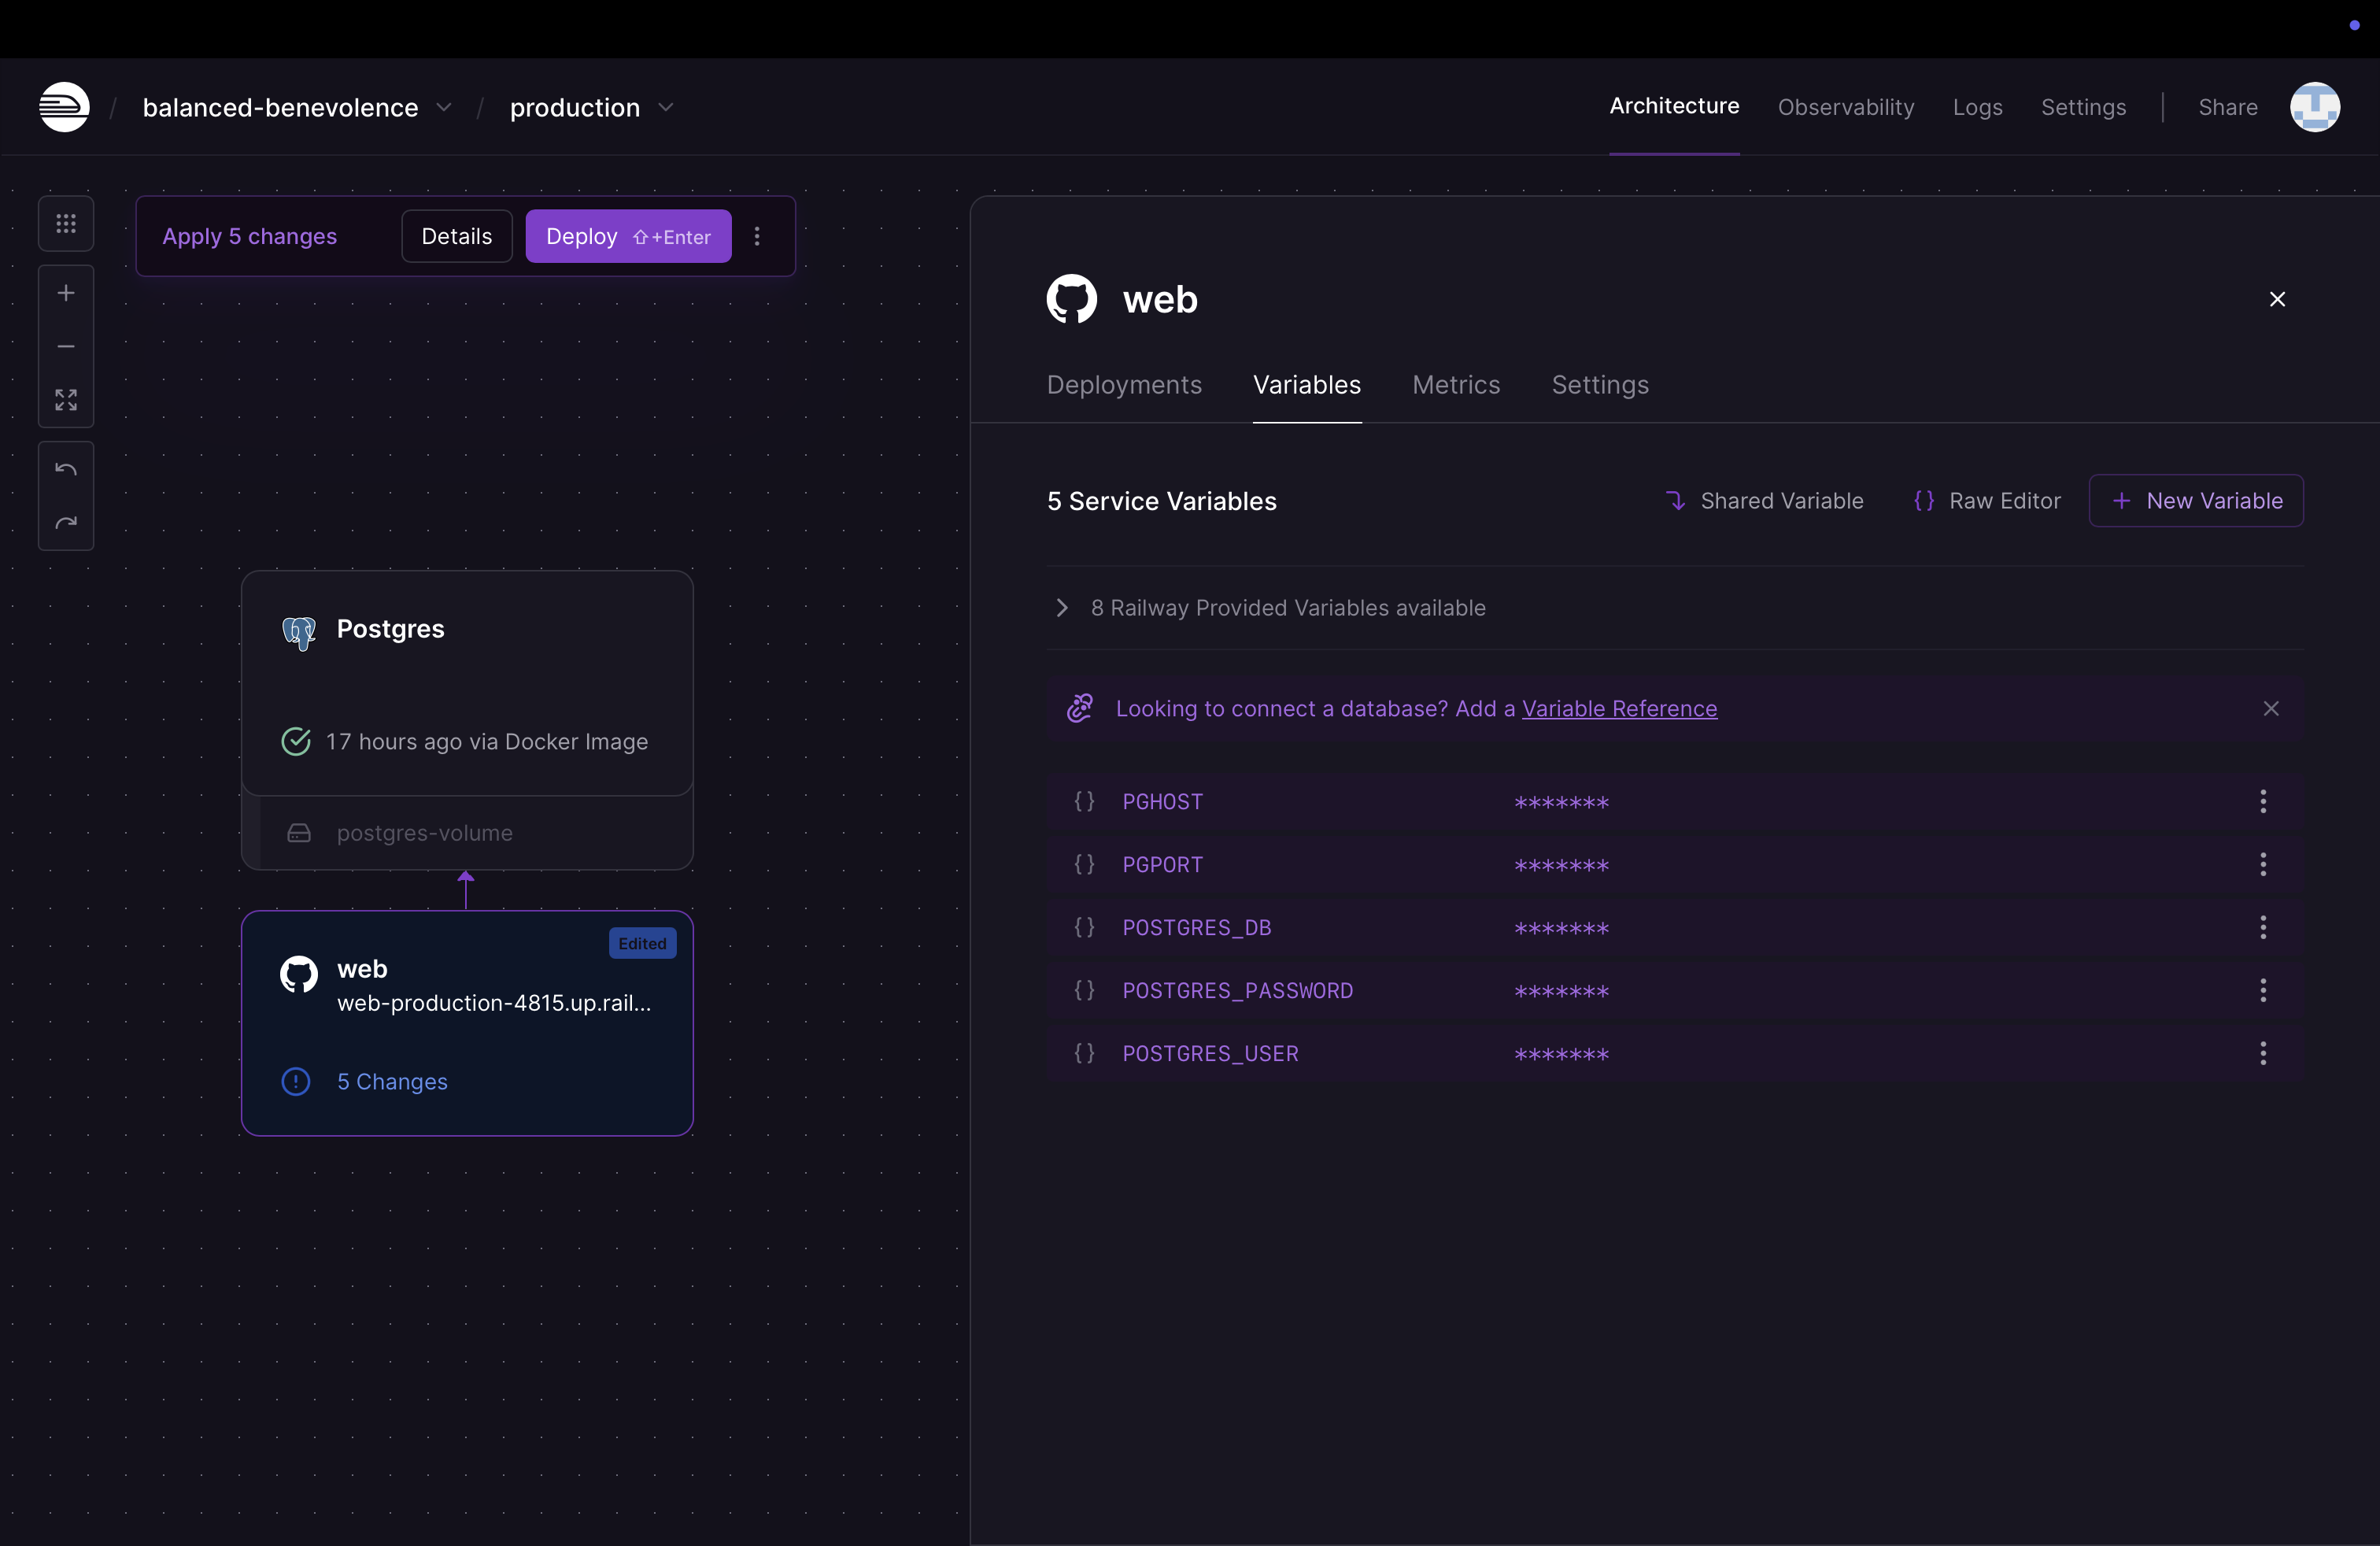
Click on the web server in your project and click on the Variables tab.

Next, click on the + New Variable button and click the Add Reference drop-down. Select PGHOST and click the Add button.
Repeat the previous step for each of the environment variables below to add them as well:
PGPORTPOSTGRES_DBPOSTGRES_USERPOSTGRES_PASSWORD
When you’re finished, the screen should look like this:
Now click the Deploy button at the top left.
Your web application will be redeployed with the environments variables we just added1.
Call the Endpoint from the Front End
Let’s modify the home page of our front end to call an endpoint and display the response.
Open the src/cljs/full_stack_hello_world/core.cljs file in your full-stack-hello-world project.
Locate the home-page function and update it to look like the version below.
(defn home-page []
  (reagent/create-class
    {:component-did-mount get-message!
     :reagent-render
     (fn []
       [:span.main
        @message])}))
This will create a Reagent view that calls a get-message! function when the view mounts. It will render as a span tag with the class main that contains the current value of an atom message.
Just above your home-page function, define the message variable and the get-message! function:
(def message (atom ""))

(defn- get-message! []
  (go
    (let [response (<! (http/get "/api/message"))]
      (reset! message (:body response)))))

(defn home-page []
  (reagent/create-class
    {:component-did-mount get-message!
     :reagent-render
     (fn []
       [:span.main
        @message])}))
We defined message as an atom with a starting value of "" and a private function get-message! that makes a GET request to the endpoint at /api/message and returns the response.
Our get-message! function uses the go macro from the cljs.core.async.macros namespace, the <! function from the cljs.core.async namespace, and the get function from the cljs-http.client namespace, aliased as http. We haven’t yet added requires for those in our full-stack-hello-world.core namespace, so let’s do that now.
Update the namespace declaration at the top of the file to look like this:
(ns full-stack-hello-world.core
  (:require
   [reagent.core :as reagent :refer [atom]]
   [reagent.dom :as rdom]
   [reagent.session :as session]
   [reitit.frontend :as reitit]
   [clerk.core :as clerk]
   [accountant.core :as accountant]
   [cljs-http.client :as http]
   [cljs.core.async :refer [<! timeout]])
  (:require-macros
    [cljs.core.async.macros :refer [go]]))
The cljs-http.client namespace is provided by the cljs-http library, which we need to add as a dependency to our project. To do that, add [cljs-http "0.1.48"] to the end of the :dependencies vector in project.clj.
:dependencies [[org.clojure/clojure "1.11.1"]
               [ring-server "0.5.0"]

               ...

               [venantius/accountant "0.2.5"
                :exclusions [org.clojure/tools.reader]]
               [cljs-http "0.1.48"]]
Add the Endpoint
Let’s add the /api/message GET endpoint to our back end that will return the Hello, World! message.
Open the src/clj/full_stack_hello_world/handler.clj file and add the endpoint by updating app at the bottom like this:
(def app
  (reitit-ring/ring-handler
   (reitit-ring/router
    [["/" {:get {:handler index-handler}}]
     ["/items"
      ["" {:get {:handler index-handler}}]
      ["/:item-id" {:get {:handler index-handler
                          :parameters {:path {:item-id int?}}}}]]
     ["/about" {:get {:handler index-handler}}]
     ["/api/message" {:get {:handler get-message-handler}}]])
   (reitit-ring/routes
    (reitit-ring/create-resource-handler {:path "/" :root "/public"})
    (reitit-ring/create-default-handler))
   {:middleware middleware}))
Now, we just need to define our get-message-handler function. Above our app definition, insert this code:
(defn get-message-handler
  [_]
  {:status  200
   :headers {"Content-Type" "text/plain"}
   :body    (db/get-message!)})
The function takes in a request, which we ignore, and returns a successful response containing the return value of the db/get-message! function, in plain text. We haven’t defined that function or its enclosing namespace yet, so let’s do that.
But first, let’s add a require for the db namespace that we’ll create. Update the top of the handler.clj file to look like this:
(ns full-stack-hello-world.handler
  (:require
   [reitit.ring :as reitit-ring]
   [full-stack-hello-world.middleware :refer [middleware]]
   [hiccup.page :refer [include-js include-css html5]]
   [config.core :refer [env]]
   [full-stack-hello-world.db :as db]))
Add the db Namespace
Add a new file called db.clj in the src/clj/full_stack_hello_world directory with the contents below:
(ns full-stack-hello-world.db
  (:require
    [clojure.java.jdbc :as jdbc]))

(def db-spec
  {:dbtype   "postgresql"
   :dbname   (System/getenv "POSTGRES_DB")
   :user     (System/getenv "POSTGRES_USER")
   :password (System/getenv "POSTGRES_PASSWORD")
   :host     (System/getenv "PGHOST")
   :port     (System/getenv "PGPORT")})

(defn get-message! []
  (-> (jdbc/query
        db-spec
        ["select * from message"])
      first
      :content))
In our new namespace, we added the variable db-spec to which we assign a map containing all the configuration needed to connect to our database. Much of that configuration is pulled from the environment variables that we referenced in Railway earlier.
We also added the function get-message!, which runs the SQL query select * from message on our database and returns :content field of the first row.
We required the clojure.java.jdbc namespace, which comes from the clojure/java.jdbc library. We haven’t added this dependency to our project, so we’ll need to do that. We also need to add the org.postgresql/postgresql library, which provides the driver for connecting to a PostgreSQL database.
Just like we did with the cljs-http dependency, add two entries to the :dependencies vector in project.clj so it looks like this:
:dependencies [[org.clojure/clojure "1.11.1"]
               [ring-server "0.5.0"]

               ...

               [venantius/accountant "0.2.5"
                :exclusions [org.clojure/tools.reader]]
               [cljs-http "0.1.48"]
               [org.clojure/java.jdbc "0.7.12"]
               [org.postgresql/postgresql "42.7.1"]]
Push Changes to GitHub
With our code changes complete, let’s push them to GitHub and see the result. In your terminal, run:
git add .
git commit -m "Adding Hello, World! functionality"
git push
Switch to your project in Railway and look at your web server deployment, which was triggered by the commit we just pushed to GitHub.

Once the deployment completes, click on the application’s URL to open it in your browser. You should see the message Hello, World! on the screen between the header and footer.
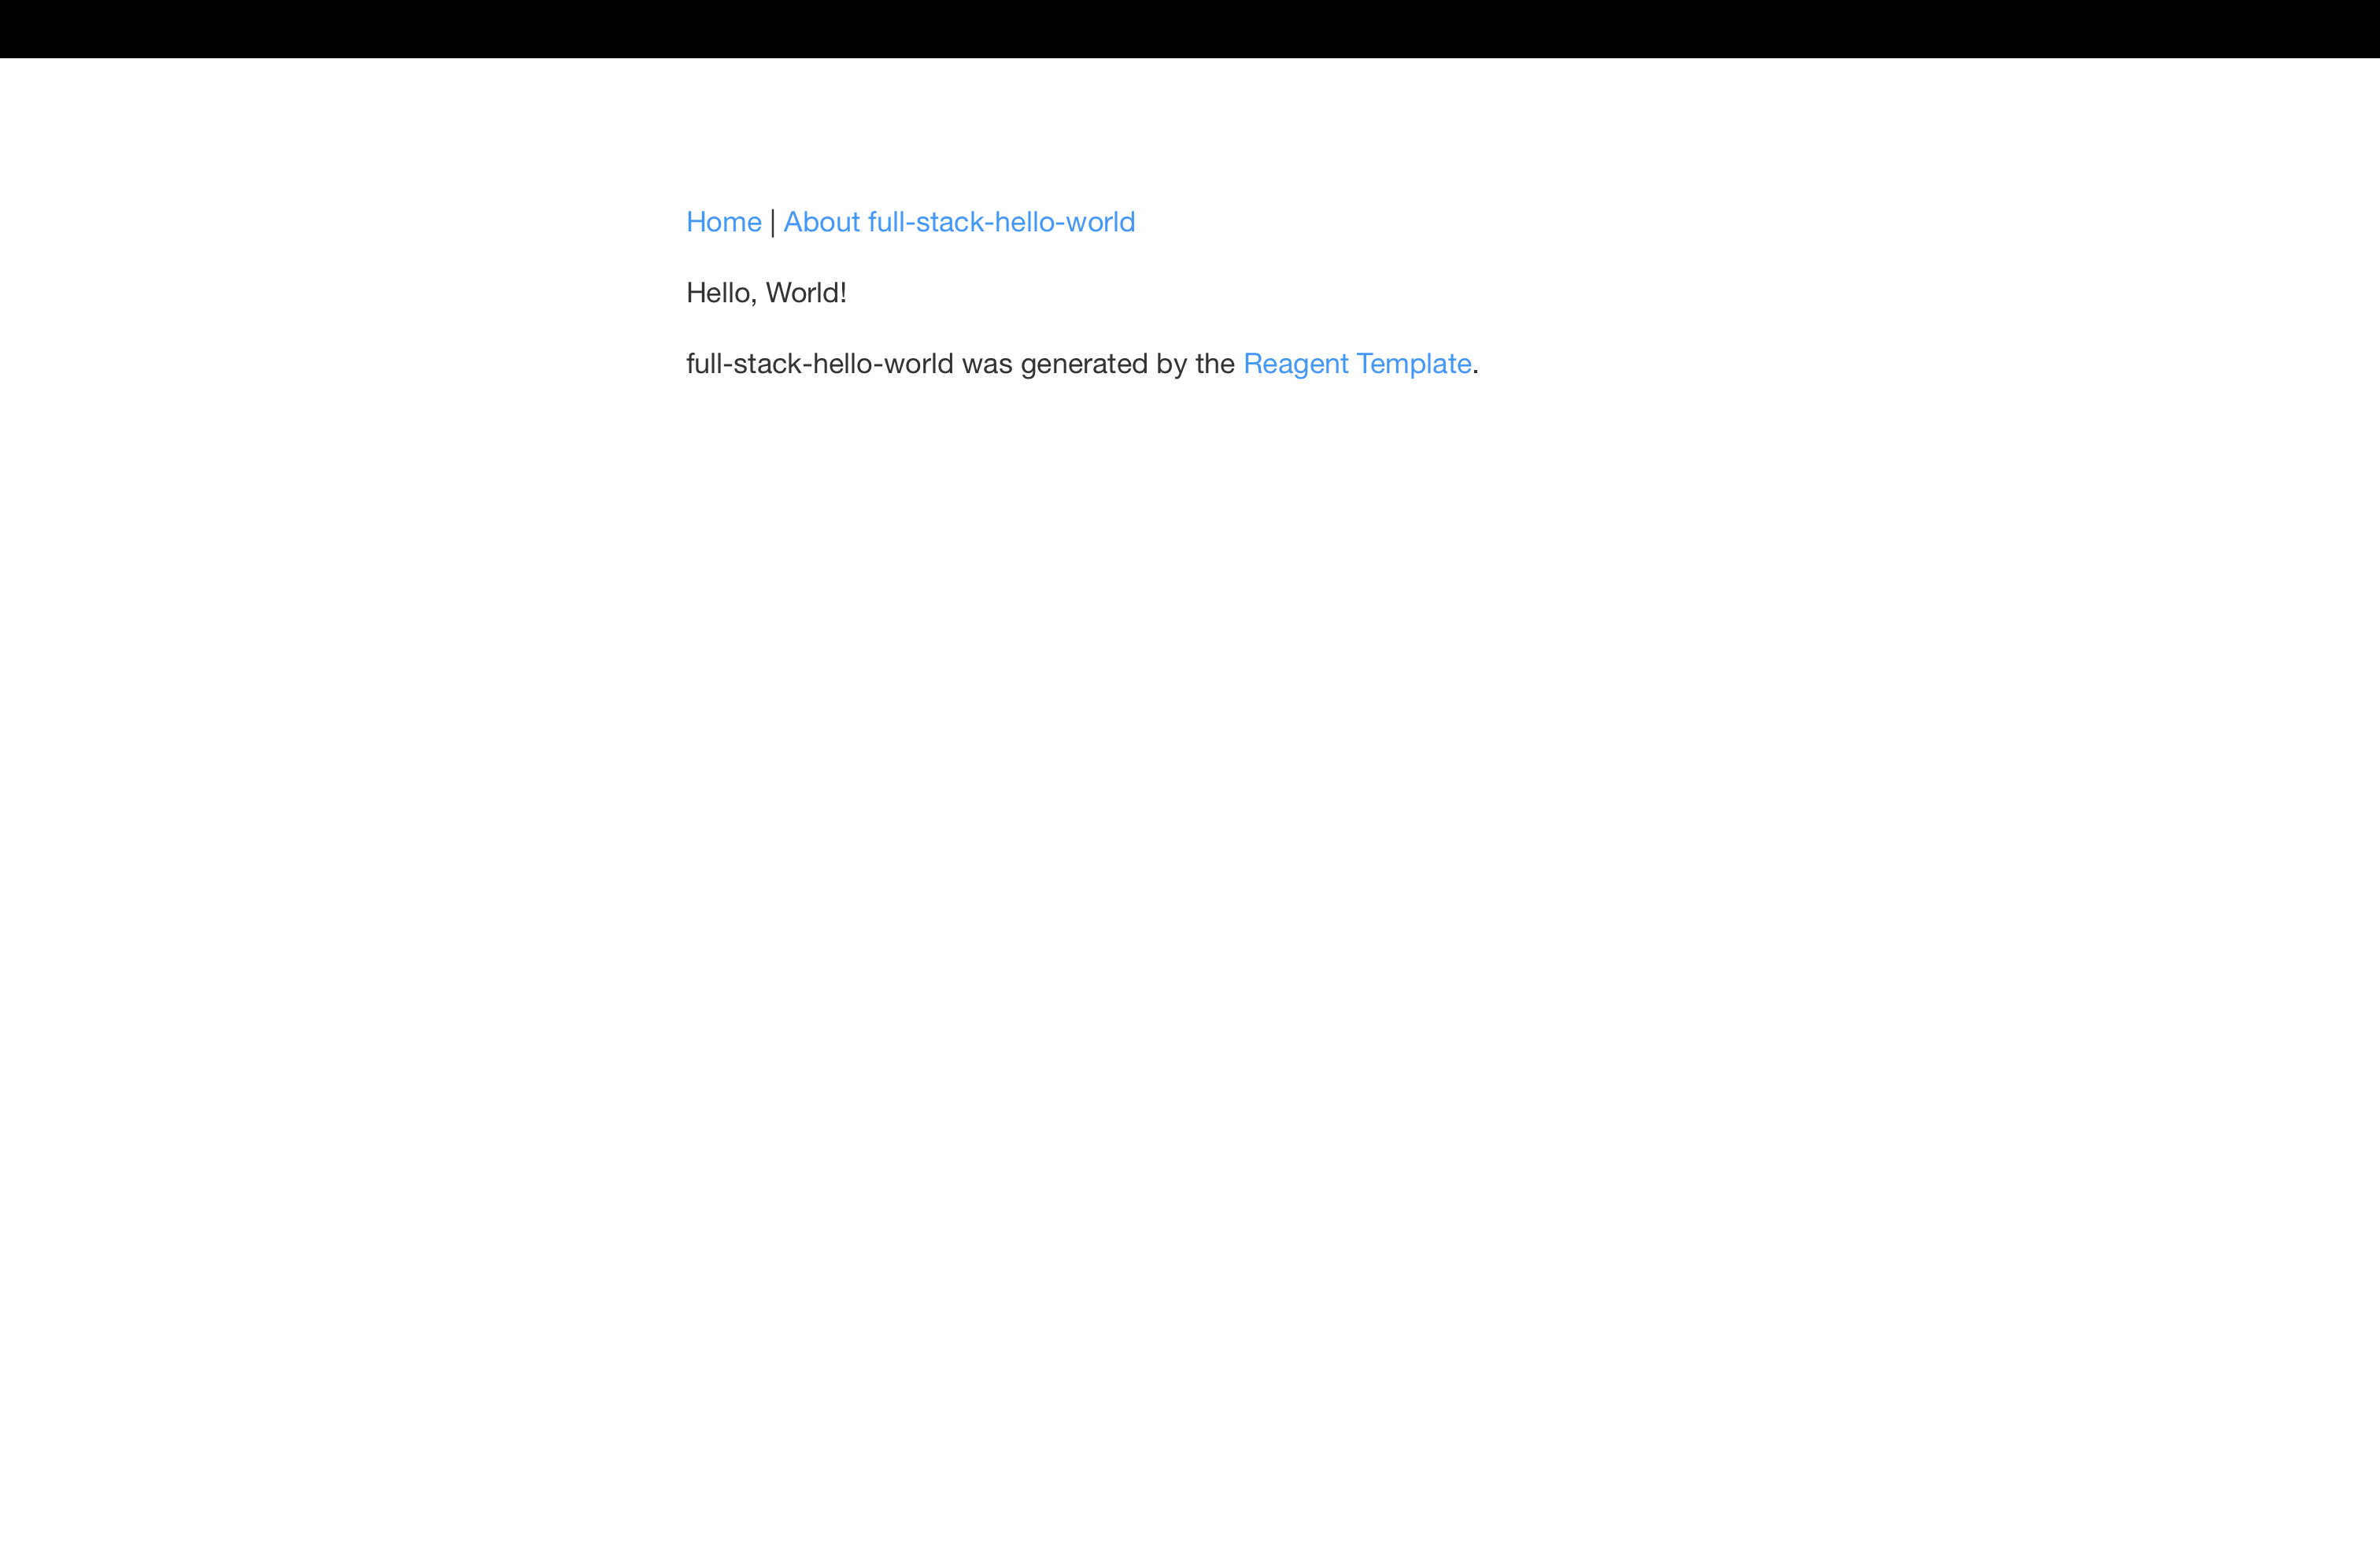
Our full-stack Hello, World! application is now complete and deployed!
Conclusion
To recap, we created a new application with the reagent template and uploaded it to GitHub. We then deployed it by pointing Railway to our GitHub repository. After that, we set up a PostgreSQL database and populated it with sample data.
In our application, we updated our skeleton Reagent app with a view that calls out to an endpoint. We defined the endpoint, which queries our message table and returns the content field of the first row.
You now have a starting point to build out a full-stack web application, and it’s already deployed!
This completes the Deploying a Clojure App series.
Don’t forget to delete the web server and database you created in Railway when you’re finished so you won’t continue being charged.
Footnotes
- By providing our web server with references to our database’s environment variables, any updates to the values of those environment variables in our database server will take effect on our web server as well. ↩︎

Leave a comment